Showing posts with label embossing. Show all posts

Sunday, June 5, 2011

More Watercolour!

When I first saw this stamp in the Summer Mini I immediately pictured a watercolour background for it. My Aquapainter is always on my work table, filled and ready for use. It's fast becoming my most used tool! And the Framed Tulips embossing folder makes the perfect frame for any work of art.

The first step was to stamp the sailboat image on Watercolour paper using Stazon black ink. I use Stazon because it is water proof and won't run when I use the Aquapainter. Next I started building the background by just picking up the ink with the Aquapainter and creating shapes for the grassy hills. I add more ink and darker shades of ink wherever I want shadows or just more visual interest.

And this is what I ended up with!


This is what I used:
Stamps: Sail Away
Ink: Stazon black, Bashful Blue, Marina Mist, Old Olive, Always Artichoke, Soft Suede
Paper: Crumb Cake, Very Vanilla, Watercolour paper
Accessories: Aquapainter, markers, Big Shot, Framed Tulips embossing folder, sponge dauber

It's very easy to create a watercolour background using the Aquapainter. Hope you will give it a try!

Thursday, April 14, 2011

Time for a picnic!

We have had some absolutely gorgeous days here on the Sunshine Coast! So when I was looking at my stamp collection the other day, I came across a set that I have had for a while and never used. Sometimes I see a set in the catalogue that I just have to have. Then, once I have it I can't seem to get inspired to use it.

That was the case with the set Studio Sketches. Oddly enough, it was a rainy day that finally inspired me to use this set. I had a day off from work. It was a cold, grey, rainy day and I thought the only thing to do was stay inside and stamp. I must have been wishing for nicer weather, because all of a sudden this design just popped into my head!


The wine and bread image is from the set Studio Sketches and the cherry blossom branch is from the set Easter Blossoms. I stamped them with Staz On ink on Stampin' Up's watercolour paper. Then I coloured them using markers and an Aqua Painter. For the cherry blossom branch I coloured the flowers first with Blushing Bride and then used Regal Rose to add darker areas. On the wine and bread image I used Cherry Cobbler for the wine glass and bottle, Crumb Cake and Soft Suede for the loaf of bread, Marina Mist on the other bottle, Pear Pizzaz for the tops of the two bottles and the label on the blue bottle and So Saffron for the label on the wine bottle.

To create the background I used a technique called Watercolour Wash. It's very easy to do. I used markers - Crumb Cake, Pear Pizzaz and Marina Mist - and scribbled with them on a clear acrylic block. Then with the Aqua Painter, I picked up some of the colour and  just "washed" it across the paper. To create the darker areas, I simply picked up more of the colour and washed it over top of the first layer. The cool thing about watercolouring is it doesn't matter if some of the white shows through. It just adds to the effect.

I trimmed the image to fit inside the Very Vanilla layer that had been run through the Big Shot with the Framed Tulips embossing folder. The raised, embossed border was sponged with Crumb Cake. The card base is Soft Suede.

Hope the rest of the country will soon enjoy picnic weather! In the meantime, stamp and watercolour yourself a picnic scene to brighten your day.

Thursday, October 14, 2010

A sad card to make

I had a request to make a sympathy card for someone who had lost a pet. I was given a picture of Arnie to use and this is what I did:


Stamps: D is for Dog
Paper: Crumb Cake, Always Artichoke, River Rock, Very Vanilla
Ink: Always Artichoke
Other: Texturz Embossing Plate, Big Shot, brads

I had actually met Arnie a couple of times. He was a very sweet springer spaniel who had been rescued from a bad situation and was lucky enough to spend a few years with people who really cared about him.


Sunday, March 28, 2010

Punch Fun


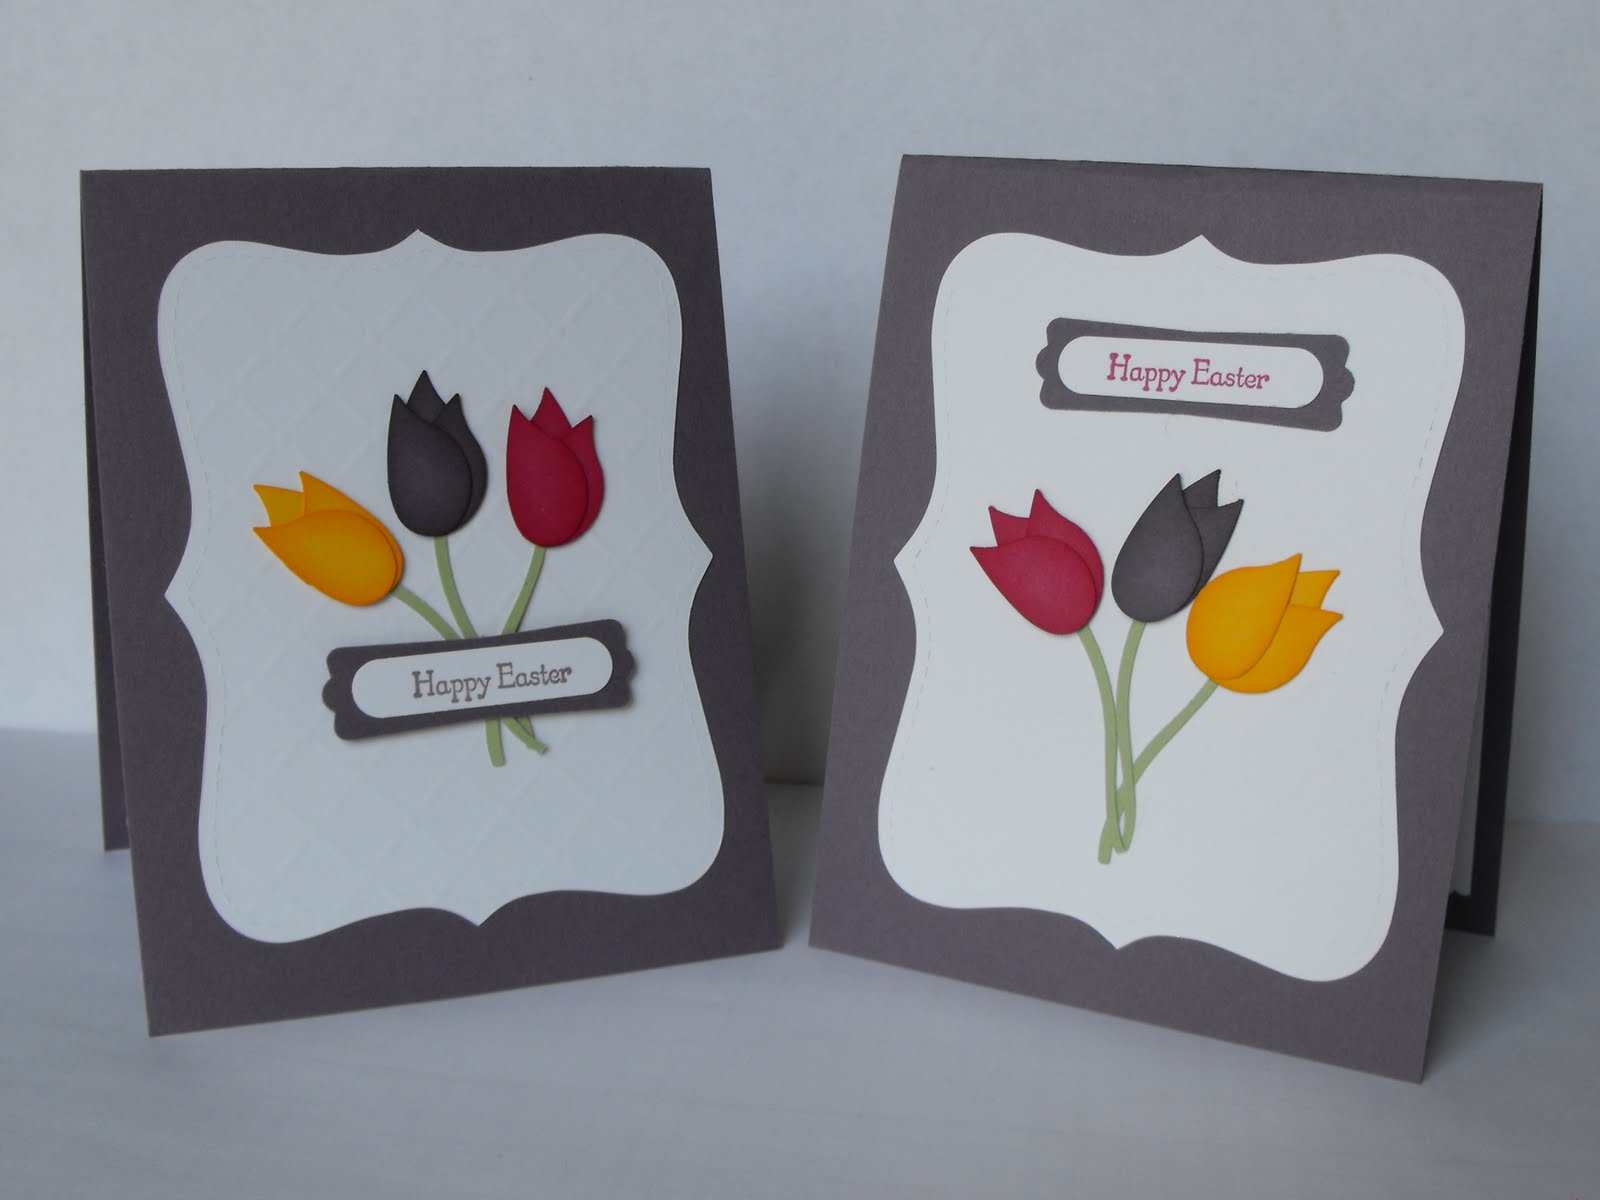
In my last post I showed you how to use the 2-step bird punch. This time I'll show you a variation by using just selected parts of the punch. I've seen this done on a few sites and loved the one done by Julia Bettancourt.

I used Perfect Plum, Summer Sun, Rose Red, Certainly Celery, Old Olive and Whisper White cardstock. The Whisper White CS was run through the Big Shot with the Perfect Details Texturz Plate. To change it up a bit, I then used the Top Note die on some of the embossed CS.

The tulips were made by punching only the wing part on the Two-Step Bird Punch. Each "petal" was then sponged with the corresponding ink. For the stems, I used Certainly Celery and just punched the branch part, leaving out the leaves.

On the sample not using the Top Note die, I was trying to think what to use in place of ribbon. There happened to be a scrap laying near-by of Old Olive CS that I had punched for another project, using the Eyelet Border punch and then ran through the crimper. So I picked it up and used the Paper Snips to cut into it to make it look like grass and placed it over the bottoms of the stems.

I thought these designs would be good to use as Easter cards and used the sentiment from Teeny Tiny Wishes - such a useful set! - stamped on Whisper White and punched with the Word Window Punch and then layered on the Perfect Plum CS punched with the Modern Label Punch.


WWC211 - Kath's Feminine Anything Goes Challenge

https://watercoolerchallenges.blogspot.com/ It's a feminine theme this week from Kath. A perfect opportunity to play with my new butte...